This script is awesome! It lets you use an InDesign feature that nobody knows about.
Watermark in InDesign? WHAT?
The watermark function has been available in InDesign for many versions. Jedoch kennen selbst InDesign-Profis diese Funktion aus zwei Gründen nicht: Zum einen ist sie nirgendwo beschrieben und zum anderen gibt es keine Möglichkeit diese zu nutzen, weil sie in den Menüs nicht auftaucht.
That is why we have included the script watermark in Octopus.
You can create a “watermark” using the script interface. So let’s do it!
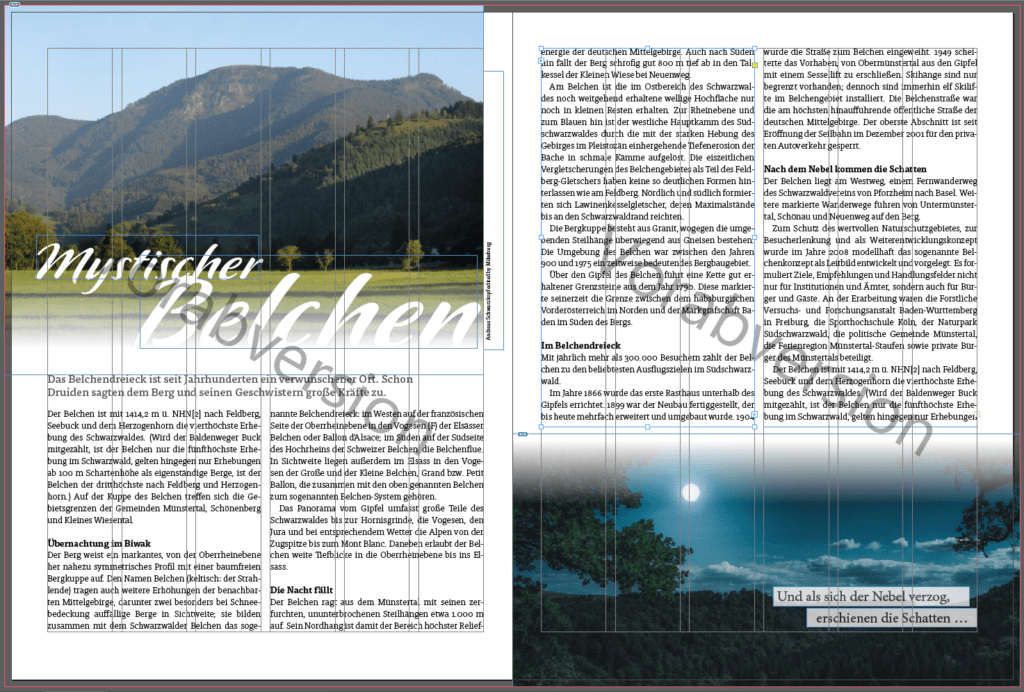
This way you can include text throughout the document as a “watermark”.
The trick is that your customer cannot remove this watermark (easily). After all, it’s not a text frame. It is not an object in InDesign and does not appear in the Layers palette. Pure magic!
Sure. You can also implement a watermark “differently”. Aber mit dem Script geht es schneller und ist „innovativer“. It is also more “lasting” because this watermark can be removed only with the magic of the Octopus.
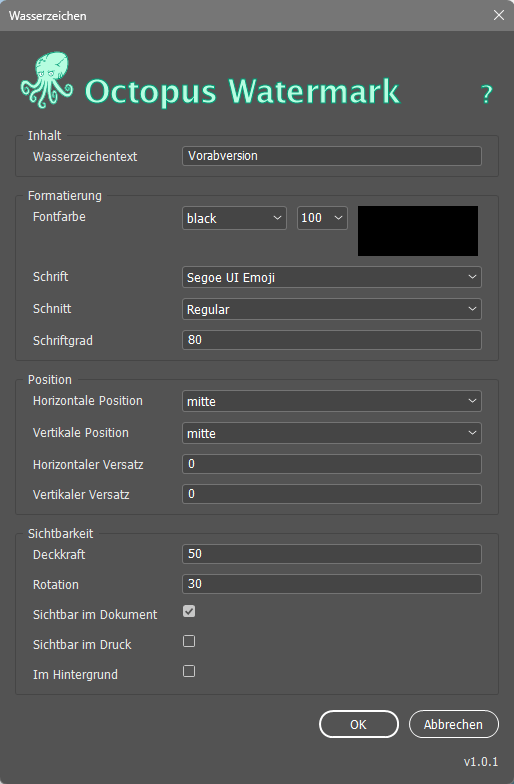
These options are provided by the Watermark script:
Most of them are probably self-explanatory. Here are just a few hints.
The font you select here, like any other font in the document, must be installed on the computers of all viewers; otherwise, a substitute font will be displayed.
“Visible in the document” and “Visible in print” do exactly that. Depending on which box is checked, the watermark appears on the screen or on a printout/exported PDF.
You want to get rid of the watermark?
Nothing easier than that. Start the script again and just remove the watermark text!
Due to a programming error on the part of Adobe in InDesign, the visibility of the watermark in print only works if it is also visible in the document.
Therefore, “Visible in document” must be active in order to activate “Visible in print”.